Most feeds lately are packed with no-bake snack recipes, so I figured it’s the perfect time to show you how I whip up these simple little No-Bake Cranberry Coconut Balls that taste like dessert but feel kinda virtuous. I love that you don’t need an oven, fancy tools, or tons of time – just a bowl, a spoon, and a few pantry bits you probably already have hiding in your kitchen.
So if you’re craving something sweet, a bit chewy, and loaded with bright cranberry flavor, you’re in the right place. By the end of this, you’ll have a go-to treat you can stash in your fridge, grab on busy mornings, or serve when friends drop by and you wanna look extra put-together without stressing.
Getting Started – What You’ll Need for These Delicious Treats
With all the viral snack boards and fridge-stash treats blowing up on social media, I love that this recipe only asks for a few basics you probably already have. You really just need your pantry MVPs, a couple of simple tools, and about 15 minutes of hands-on time, so you can whip up a batch on a random Tuesday or right before guests walk in the door. It’s all about keeping things unfussy but still wildly snackable.
Must-Have Ingredients
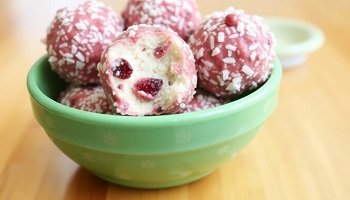
For a small batch of about 18 to 20 balls, I stick with 1 cup dried cranberries, 1 cup unsweetened shredded coconut, and 1 cup rolled oats as my base. Then I mix in 1/3 cup nut butter, 3 tablespoons honey or maple syrup, a pinch of salt, and a splash of vanilla. If you want them a little extra, you can toss in 2 tablespoons mini chocolate chips or chopped nuts, but everything still comes together with just those core ingredients.
Tools That Make It Easy
Most people online are showing off super fancy kitchen gadgets right now, but you really only need a few low-key tools to pull this off: a mixing bowl, a sturdy spoon, a tablespoon-sized scoop, and a small plate or tray. I like using a rubber spatula to scrape every bit of the sticky mixture out of the bowl, plus a piece of parchment paper so nothing glues itself to your counter. If your kitchen runs hot, a small airtight container is handy for chilling and storing them without drying out.
What I love about these tools is how they speed things up without turning your kitchen into a full-blown production. A cookie scoop gives you evenly sized balls so they chill at the same rate and you don’t end up with a few giant ones hogging the container, while a simple metal spoon works if you’re scooping for just yourself. Parchment paper is a game changer too, because it keeps the bottoms from getting sticky and makes cleanup literally a 5-second job. And if you’ve got kids helping, a wide shallow bowl for rolling in coconut makes the whole process way less messy for your counters and way more fun for them.
How to Make ‘Em – The Steps That Seriously Make the Difference
What really changes the game here isn’t fancy ingredients, it’s how you bring everything together so the texture hits that perfect sweet spot – chewy, not crumbly, and just sticky enough to hold. If you rush this part, you either get rock-hard bites or sad piles that fall apart. So I slow things down for 5 extra minutes, tweak the moisture with a teaspoon of coconut milk if needed, and let the mixture sit for at least 3 minutes so the coconut soaks up some of the liquid. That tiny pause makes them taste like a snack you actually meant to make, not a random pantry accident.
Mixing it All Together
When I mix this up, I always start with the dry stuff in a big bowl – shredded coconut, oats if I’m using them, a pinch of salt – then I pour in the sticky crew: melted coconut oil, honey or maple syrup, vanilla, and a splash of orange juice if I’ve got it. I fold in the chopped cranberries last so they don’t all clump together in one spot, and I use a spatula first, then my hands for the final mix because you can literally feel when it comes together – it should press into a ball without cracking, but not leave your fingers coated in syrup.
Shaping Those Yummy Balls
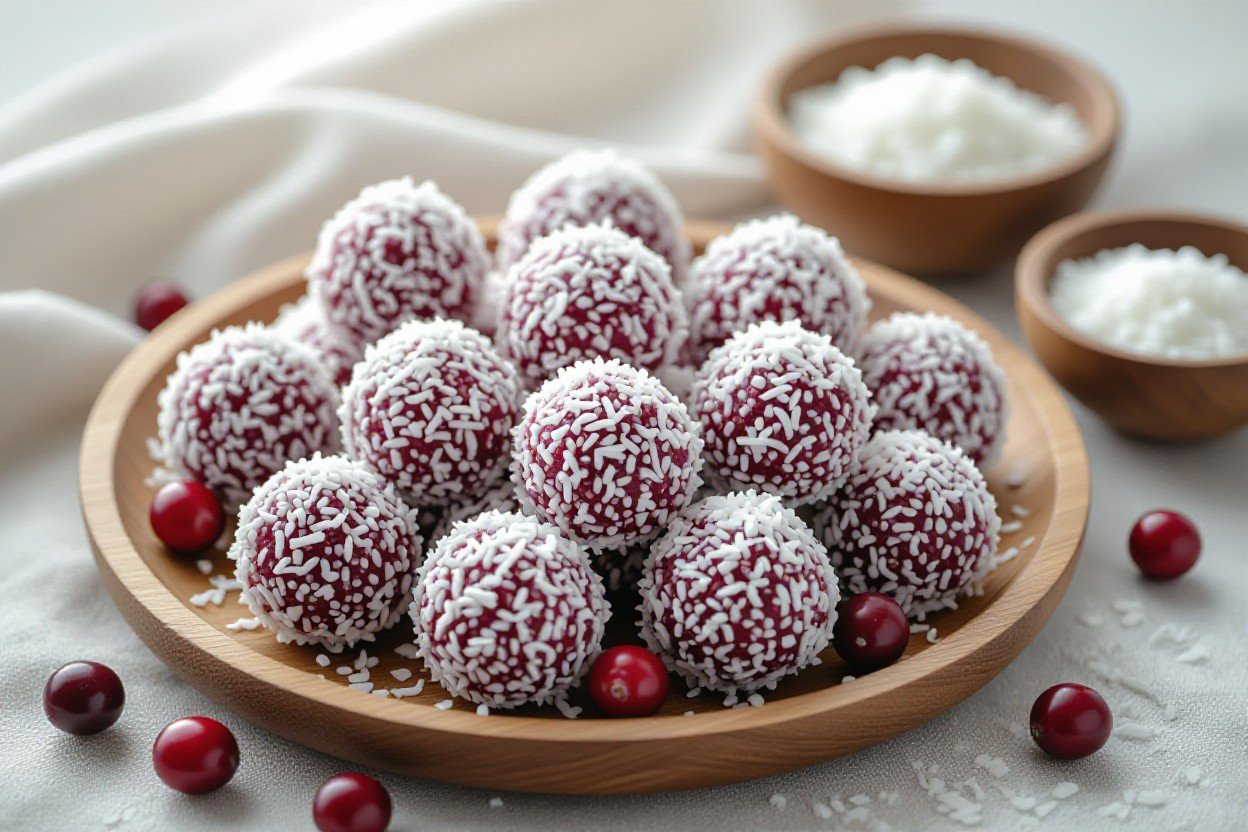
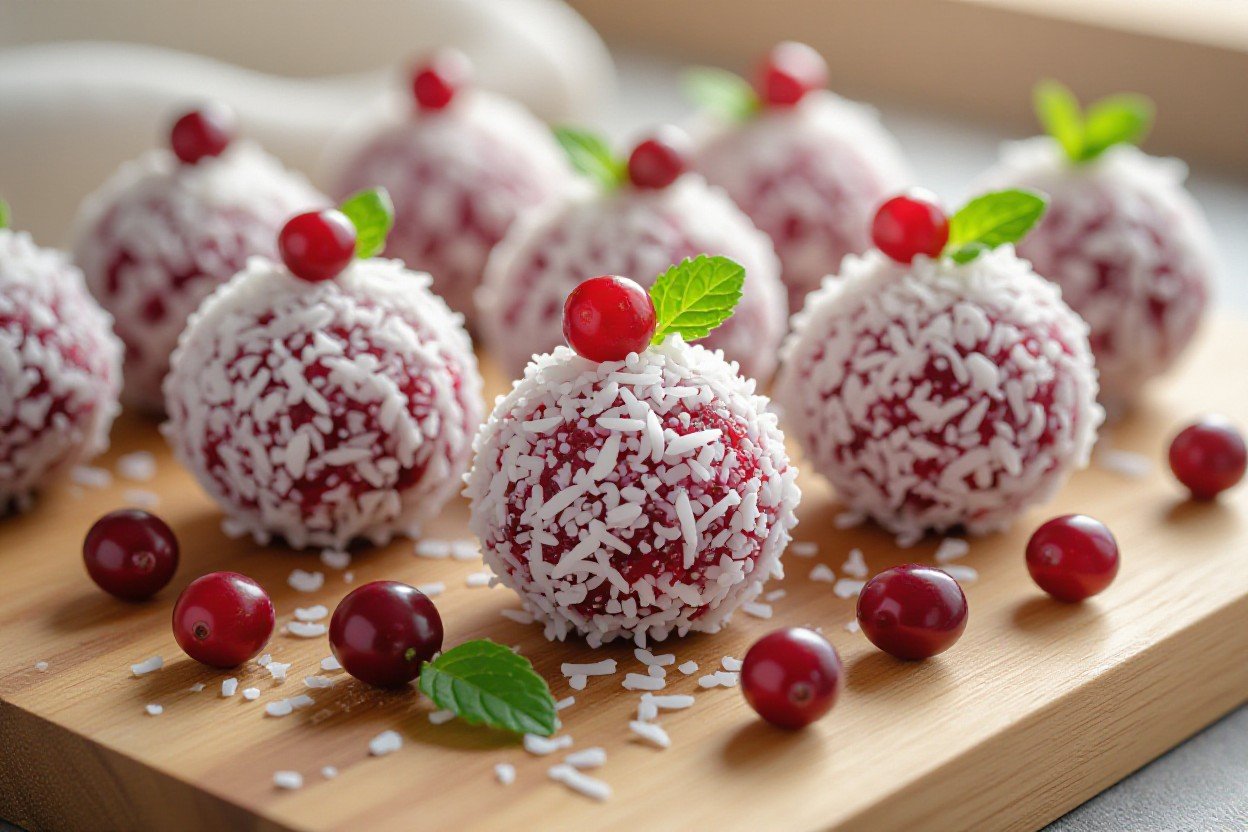
Once the mix feels right, I grab a tablespoon scoop and pack it pretty tightly, then roll the portions between my palms to get smooth little 1-inch balls so they chill evenly in the fridge. I like to roll half of them in extra shredded coconut so they look cute and stay less sticky in lunch boxes, and I spread them out on a parchment-lined plate instead of stacking so they firm up in about 25 to 30 minutes without squishing into each other.
For a bit more control, I actually weigh a couple of the first scoops – around 18 to 20 grams each – just so I know I’m in the right ballpark before I keep going by eye, because it helps them set at the same speed and you don’t end up with some rocks and some squishy ones. If the mixture cracks when you roll it, I just dampen my hands lightly or mix in 1 teaspoon of coconut oil, then try again. When I’m making a big batch for a party, I line up the finished balls on a baking sheet, chill them for 20 minutes, then transfer to an airtight container so they don’t glue themselves together. And if you like them a bit firmer, leave them in the fridge for an extra 15 minutes – it makes the texture almost truffle-like.
Tips & Tricks – Clever Hacks for the Perfect Cranberry Coconut Balls
Small tweaks make a huge difference with these little bites, so I like to treat them almost like tiny truffles you’d fuss over for a party. Chill the mixture for 15-20 minutes before rolling so it firms up, lightly oil your hands if it gets sticky, and use a small cookie scoop for even portions. After you’ve rolled them, give each ball a quick second roll in fresh coconut so the coating looks fluffy and bakery-level pretty.
- Chill the mixture before rolling to keep the texture firm and easy to shape.
- Use a small cookie scoop or tablespoon for uniform balls that chill evenly.
- Lightly grease your hands with a drop of coconut oil to avoid sticky palms.
- Re-roll in fresh shredded coconut right before serving for a cleaner, brighter look.
- Keep the mixture from drying out by covering the bowl with a plate or wrap between batches.
Storage Secrets
Short-term on the counter is fine, but for the best texture I like to stash these in the fridge in a shallow, airtight container. Separate layers with parchment so they don’t squish together, then pull out only what you need, because they soften a bit at room temp in about 10 minutes. After 5-6 days in the fridge, I move any leftovers to the freezer where they stay happy for up to 2 months.
Flavor Boosters and Variations
Plain is good, but I’m always chasing that tiny extra pop of flavor that makes people go wait, what’s in this. Stir in a teaspoon of orange zest, swap part of the coconut for finely chopped toasted almonds, or drizzle the finished balls with a bit of melted dark chocolate. After you’ve tried one twist, it’s weirdly hard not to start treating these like your own custom candy project.
Some days I keep them light and bright with orange zest and a tiny splash of vanilla, other days I’ll go full dessert mode with mini chocolate chips and a pinch of flaky salt on top. You can fold in 1-2 tablespoons of finely chopped pistachios for color, use lime zest instead of orange if that’s what’s rolling around your fridge, or add 1 tablespoon of cocoa powder to half the batch for a fun “marble” plate. I’ve even mixed in a teaspoon of finely grated fresh ginger for a batch around the holidays and it tasted like a cozy little bite of gingerbread without turning on the oven. And if you’re dairy-free or gluten-free, it’s super easy to keep things friendly for everyone by just double-checking your chocolate and any add-ins before you toss them in.
Why I Think These Are a Must-Try – My Personal Experience
What surprised me most was how fast a batch disappears in my fridge – 18 balls are gone in two days, every time. I love that I can toss everything in one bowl, roll, chill for 20 minutes, and suddenly I’ve got this fancy-looking snack that tastes like a cross between a truffle and a granola bar. They’ve saved me so many 3 p.m. snack panics, especially on busy work-from-home days when I’d usually reach for something way less satisfying.
Enjoying Them at Home
On quiet evenings, I grab two cranberry coconut balls, a mug of tea, and it genuinely feels like a tiny dessert ritual, not just a quick snack. I keep a container on the top fridge shelf so it’s the first thing I see when I open the door, which makes it way easier to skip the random chocolate bar. Some nights I even crumble one over yogurt, add a drizzle of honey, and boom – five-minute “parfait” that tastes like I actually tried.
Sharing with Friends and Family
The funny part is, every time I bring a plate of these to a get-together, someone asks what bakery I bought them from. I love watching that double-take when I say they’re just oats, cranberries, coconut, a bit of nut butter, and no oven. Kids grab them first because they look like candy, while my health-conscious friends appreciate that I can rattle off the ingredients in 10 seconds. They’ve become my default “I’ll bring something!” snack for parties and potlucks.
At my last family brunch, I made a double batch – 36 balls – and thought there’d be plenty left for weekday snacks, but they vanished between coffee refills and gossip. My sister asked for the recipe texted word-for-word, my dad wanted to know the exact brand of shredded coconut I used, and my friend with food allergies was thrilled they were naturally gluten-free and easy to tweak. I’ve even packed them in little paper cups in a muffin tin for a casual baby shower snack board, next to cut fruit and cheese, and they were still the first thing gone. That’s when I knew this recipe wasn’t just “good for a no-bake treat”… it’s just flat-out good.
The Real Deal About Nutrition – Are They Actually Healthy?
What always surprises people is that these taste like candy but the ingredient list reads more like a solid snack. You’re getting fiber, healthy fats, and natural sweetness in every bite, not a bunch of weird additives. They’re still a treat, of course, but one you can actually feel pretty good about tossing into your lunchbox or grabbing before school pick-up. I treat them as a smart swap for store-bought cookies and, honestly, they keep me full way longer too.
Nutritional Benefits of the Ingredients
Every little ball is basically a bundle of functional ingredients hiding in dessert clothing. Oats (if you use them) bring in around 4 grams of fiber per half cup, shredded coconut adds satisfying fats that help slow sugar absorption, and cranberries contribute antioxidants like vitamin C and polyphenols. If you toss in chia or flax, you’re adding omega-3s and extra fiber, and a spoon of nut butter adds about 4 grams of protein. So you’re not just snacking – you’re actually feeding your body something useful.
Satisfying Your Sweet Tooth
What I love most is how these hit that “I need something sweet right now” craving without pushing you into full sugar-crash territory. Natural sweetness from dates, a drizzle of maple, or a handful of dried cranberries usually lands around 6 to 8 grams of sugar per ball, depending on size, which is a big step down from the 20+ grams in a standard candy bar. They’re rich, chewy, and a bit tart, so you feel satisfied sooner and don’t keep prowling around the kitchen for more snacks.
In a weirdly satisfying way, the texture does half the work in taming cravings. You get that chewy cranberries-meet-coconut thing going on, plus the slight bite from oats or nuts, so your brain gets the “dessert” message even though your blood sugar isn’t skyrocketing. I’ve tested these on kids, co-workers, and my own late-night sweet tooth, and they consistently stop the “just one more cookie” spiral. And if you chill them so they’re a bit firmer, they feel almost like truffles, which tricks your brain into treating one or two as enough instead of inhaling half a tray of brownies.
Common Mistakes – What Not to Do When Making Your Balls
With so many “3-ingredient energy balls” trending on TikTok, it’s easy to think these are impossible to mess up, but there are a few sneaky slip ups that can totally wreck the texture. If your mix is chalky, rock hard, or randomly wet in the center, something went sideways with how you mixed, shaped, or stored them. I like to think of these as tiny desserts with big personalities – treat them right and they stay soft, chewy, and flavorful for days.
Overmixing Woes
When you stir and mash the mixture like you’re making bread dough, the coconut gets broken down too much and the cranberries start to smear instead of staying juicy. You end up with gummy, dense balls that feel heavy instead of light and snacky. I stop mixing as soon as everything holds together when I squeeze a bit in my palm – if it forms a soft clump, you’re good.
Handling and Storage Blunders
Too many viral fridge restock videos show balls just tossed in a giant container, and that is exactly how you get sticky, dried-out, flavorless bites the next day. If they touch while still soft, they fuse together, then the edges dry out in the fridge. I always chill them on a parchment-lined tray first, then transfer to an airtight container so they keep that nice chewy center for 3 to 4 days.
What really helps your balls stay perfect is treating them like truffles, not random leftovers. I let them firm up in the fridge for at least 20 to 30 minutes on a flat tray, making sure they’re spaced out a bit, then I layer them in a container with small squares of parchment so they don’t glue themselves together. If your kitchen runs hot, store the container toward the back of the fridge, not in the door where temps can swing 5 to 7 degrees every time you open it. And if you want to freeze them, seal them in a zip bag with most of the air pressed out and they’ll taste fresh for up to 2 months.
To wrap up
Conclusively, a lot of people think no-bake cranberry coconut balls are fussy or kinda “fake” desserts, but you and I both know they’re the simple little treats that disappear first from the fridge. I love that you can toss everything in a bowl, roll it up, and suddenly your snack game looks like you really tried… even when you didn’t. And if you’re craving more ideas, this No bake cranberry almond energy balls recipe is right up your alley – easy, cozy, and perfect for your busy days.
Get this incredible cooker for your kitchen
Learn more healthy dessert recipes in my blog https://puredessertjoy.com/low-carb-coconut-lime-bars-easy-refreshing-keto-friendly-made-easy/